Last updated November 22, 2026
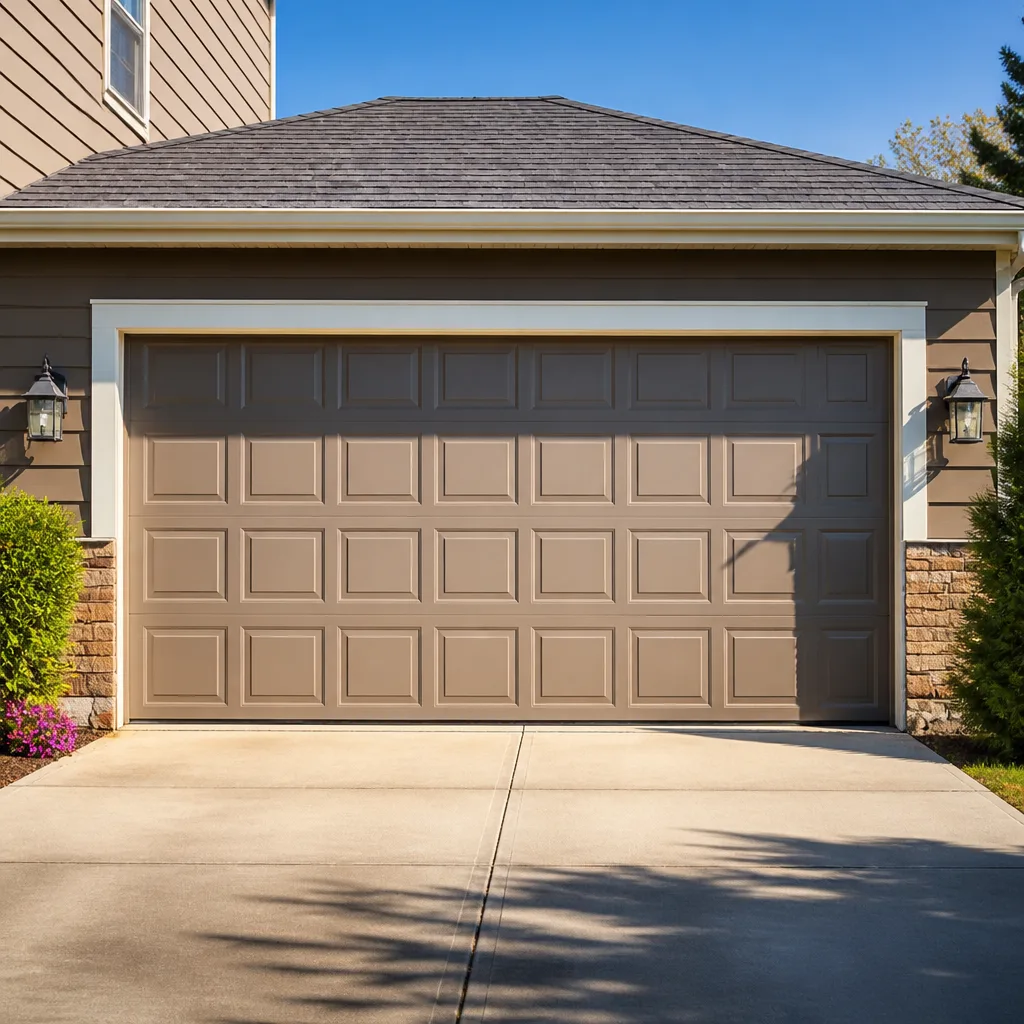 Raised-panel steel
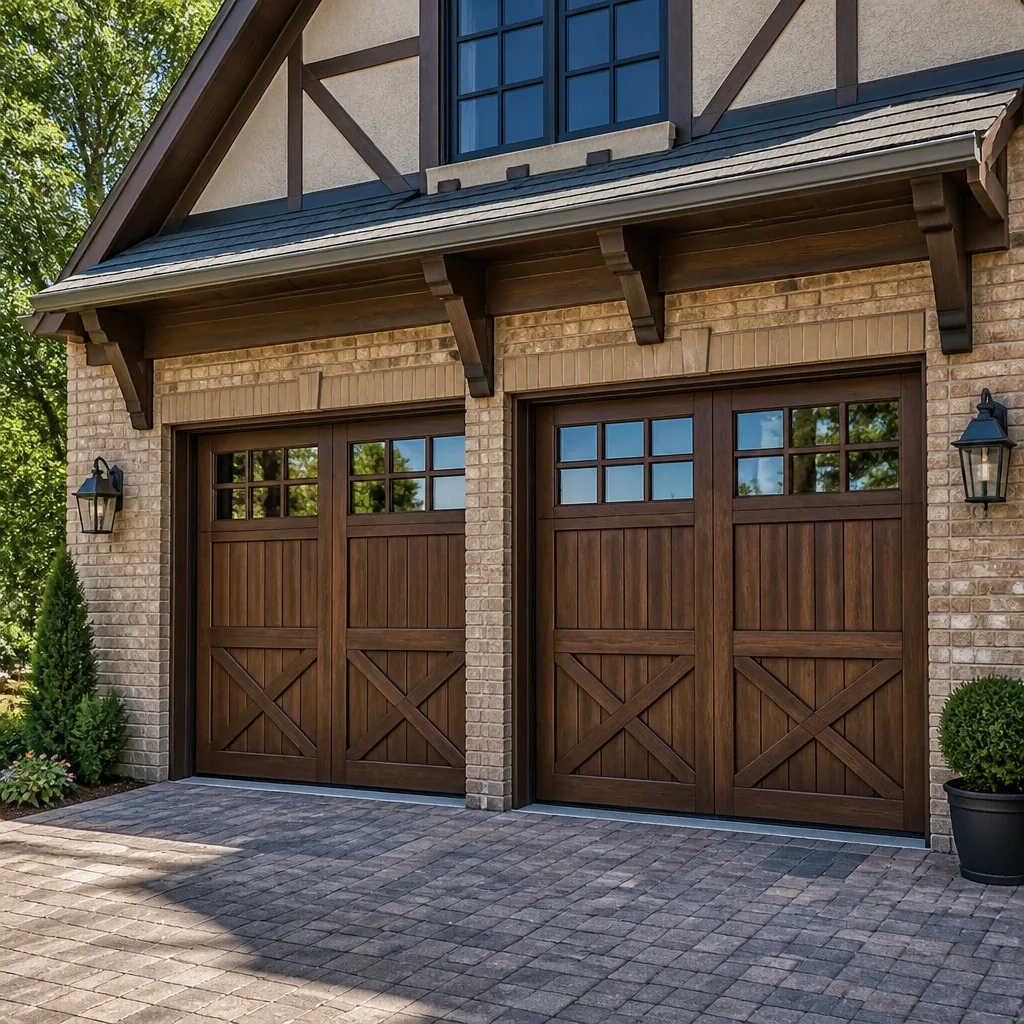 Carriage house
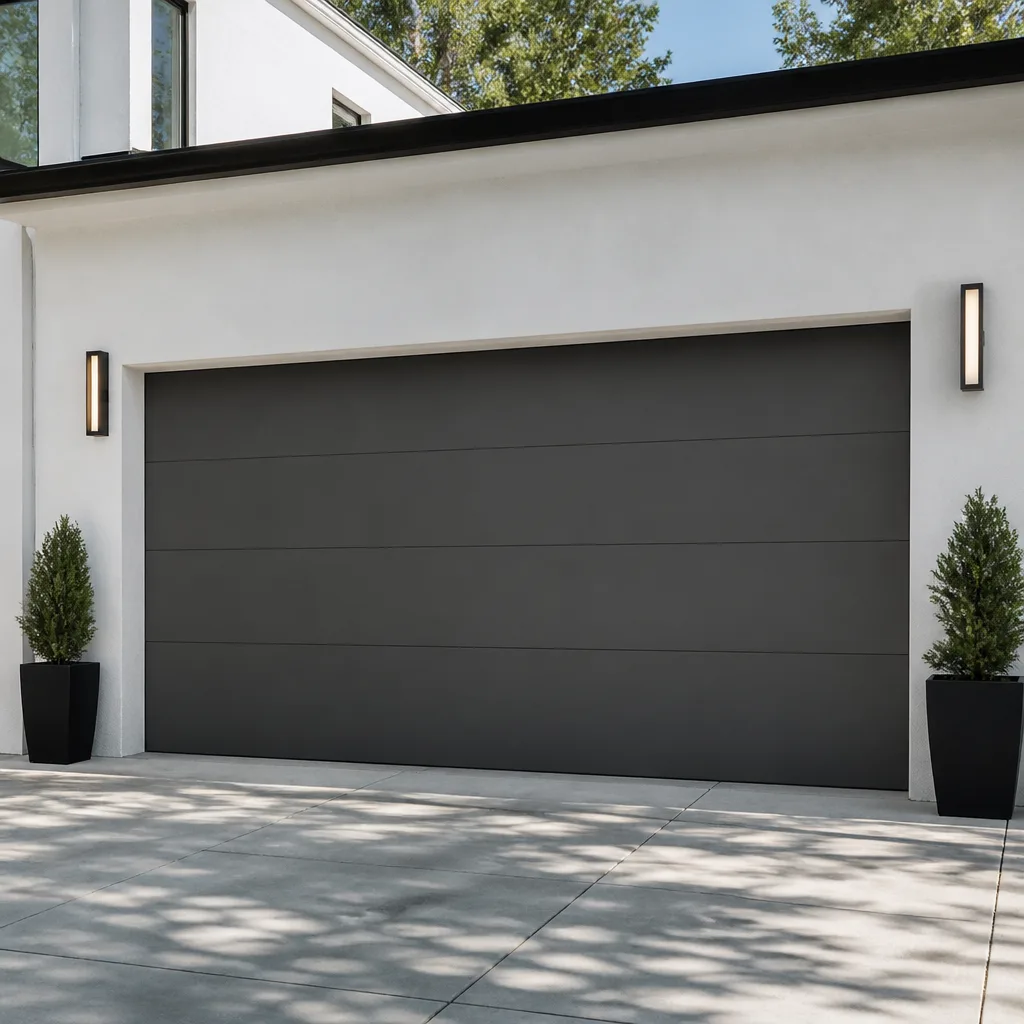 Modern flush
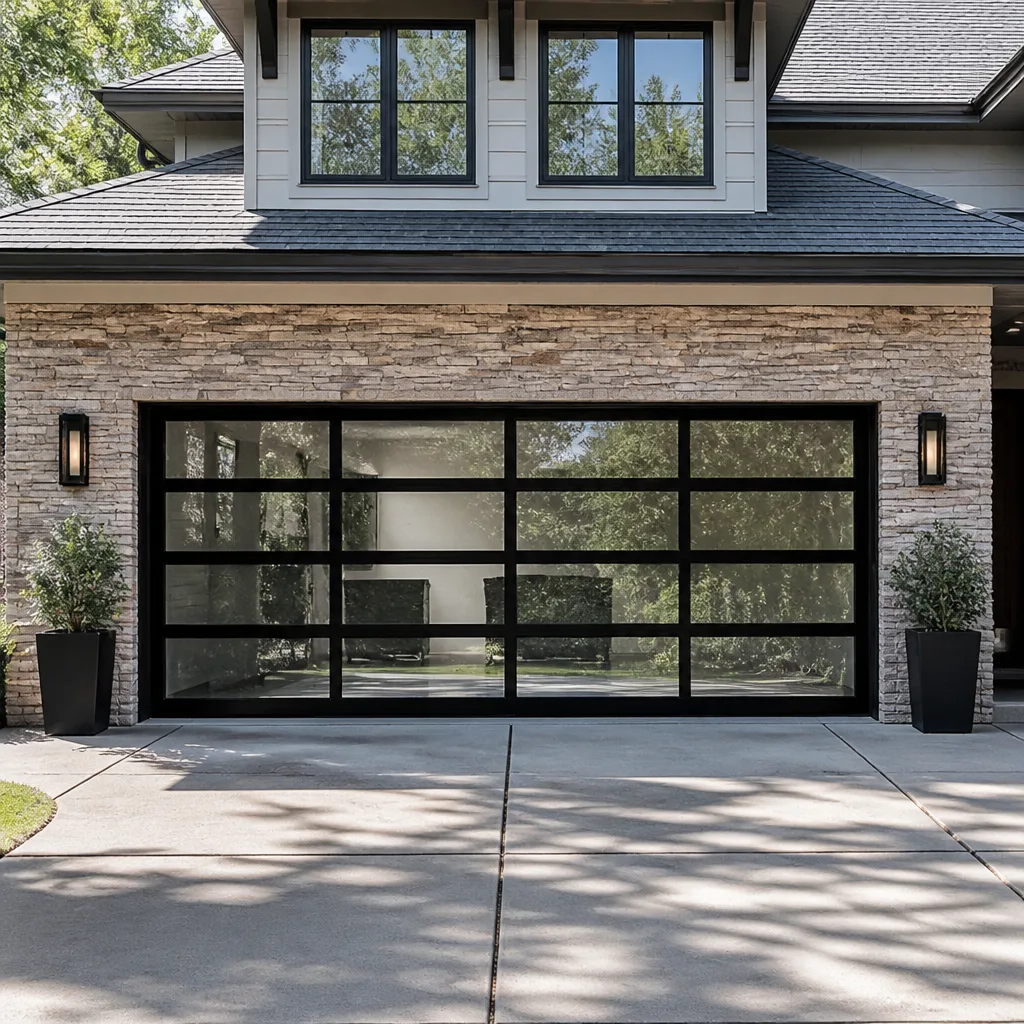 Full-view glass
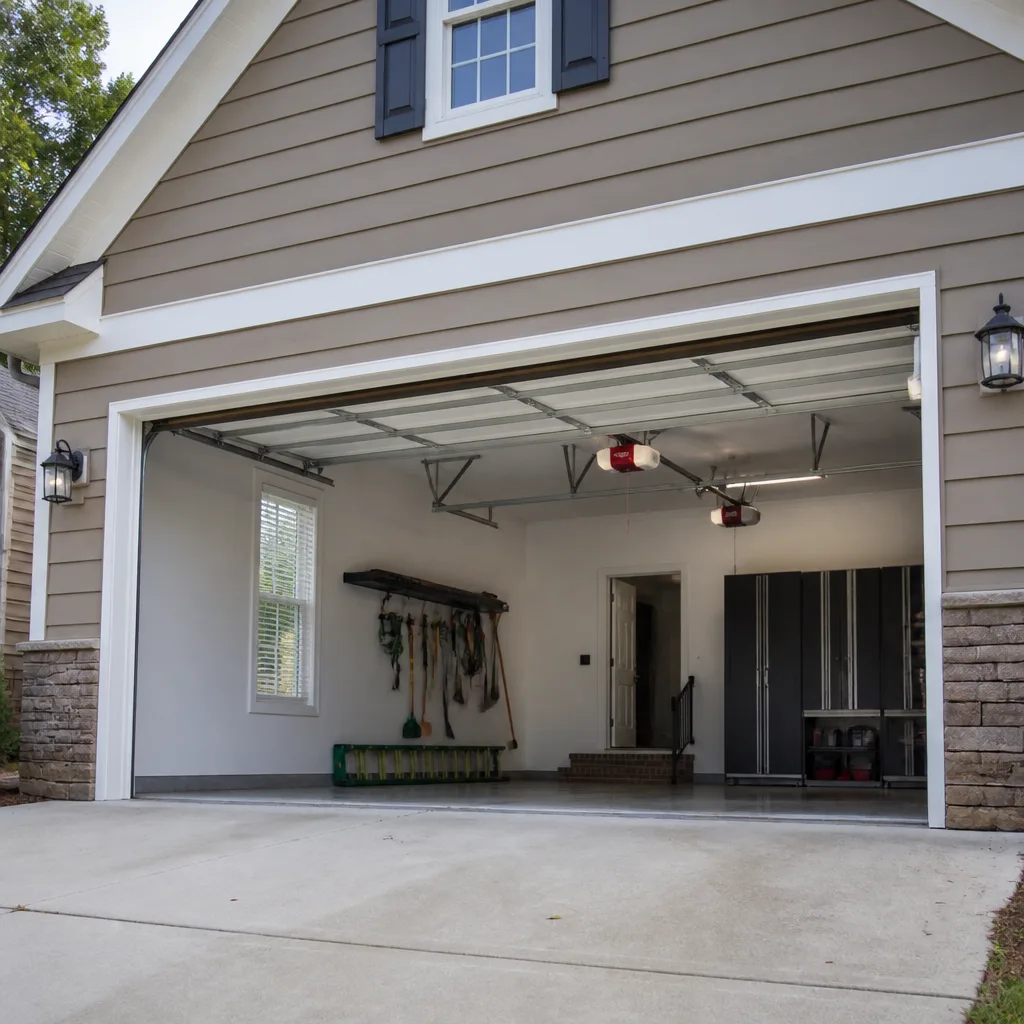 LiftMaster openers
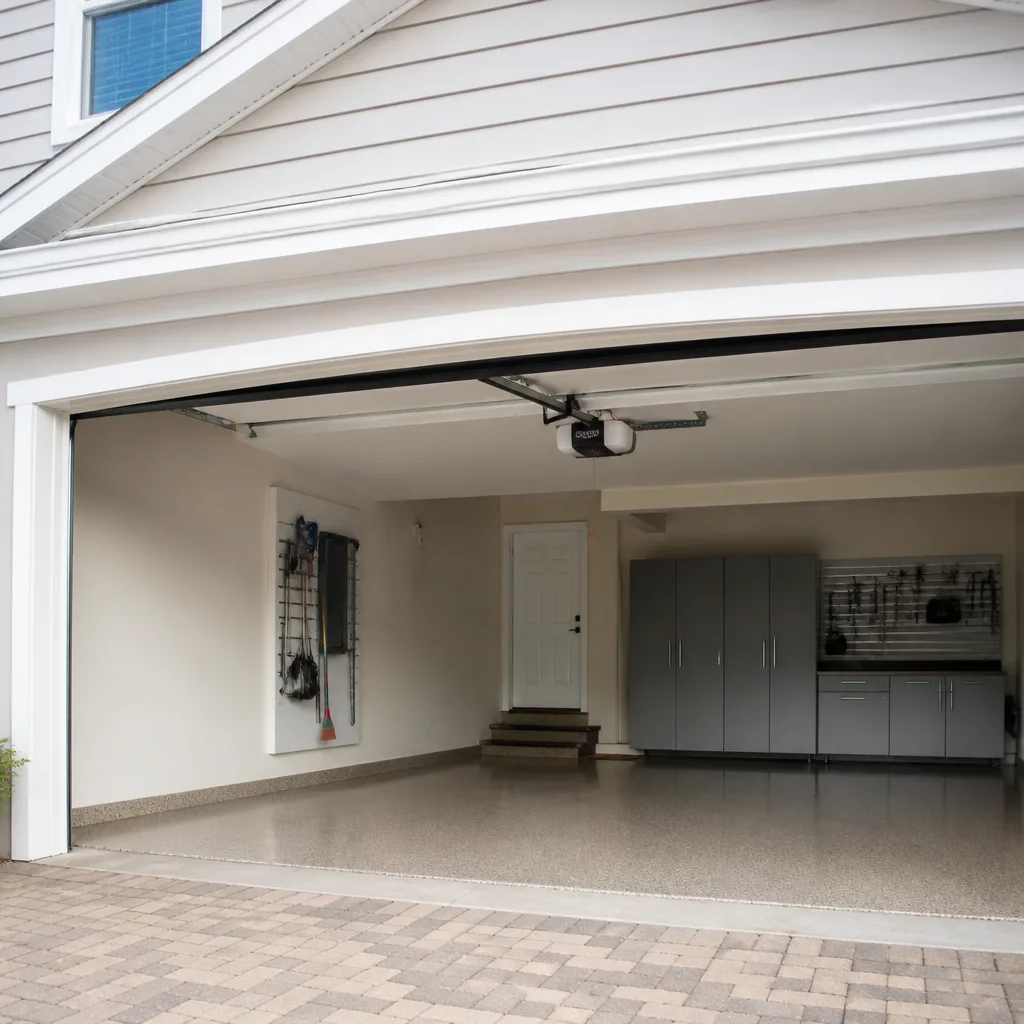 Chamberlain openers
Full 25-point door and opener safety check with every visit - springs, cables, rollers, tracks, and your LiftMaster or Chamberlain opener included
You get a price before we start. It does not change when the pro arrives.
Get your free estimateGarage Door Repair Maintenance Checklist for Norwich Homeowners
Most garage door checklists treat every task as equally urgent. They aren’t. On a Norwich door, the parts fail in a predictable order, and the hardware that gives out first is the lag screws holding the top bracket to the header – the bolt almost nobody checks. A New England winter pushes the whole assembly around through freeze-thaw cycles, and those screws work loose before anything else lets go. Check them last and the door can drop its top panel before you notice anything wrong. This guide is built around sequence: what to check first, what each task protects against, and which jobs belong to you versus a technician. You’ll learn the order that actually keeps a Norwich door running.
Styles & brands we work with
- Raised-panel steel
- Carriage house
- Modern flush
- Full-view glass
- LiftMaster openers
- Chamberlain openers
Quick Answer
A garage door maintenance checklist for Norwich homeowners should follow failure order, not chore order: anchor hardware and balance first, then springs and cables by visual inspection only, then tracks, rollers, hinges and weather seals, then the opener and safety reverse. Do the full check in October before ground frost locks the bottom seal in place, and never touch a torsion spring or adjust cable tension yourself – those are professional jobs every time.
Table of Contents
- Why the Order of Your Checklist Matters More Than the List
- Step 1: Anchor Hardware and the Top Bracket
- Step 2: The Balance Test
- Step 3: Reading Spring Tension Without Touching the Spring
- Step 4: The Lubrication Sequence – Rollers Before Tracks
- Step 5: Cable Drums You Can Inspect and Tension You Can’t
- Step 6: Why October Is the Critical Maintenance Window
- What Normal Wear Looks Like on a Seven-Year-Old Door
- Step 7: The Opener, Safety Reverse and Smart Controls
- Common Mistakes to Avoid
- When to Call a Professional
- Frequently Asked Questions
- The Bottom Line
Why the Order of Your Checklist Matters More Than the List
A checklist is a chain of dependencies. Skip a link and the rest of the list gives you false confidence. On any sectional door, the load path runs from the header down: the top bracket anchors the torsion system to the house, the springs carry the door’s weight, the cables transfer that spring force to the bottom corners, and the rollers and tracks keep the whole thing travelling in a straight line. If the anchor is loose, a balance test tells you nothing useful. If the door is out of balance, worn rollers are a symptom rather than a cause.
That’s why we build maintenance around sequence. Each task on this list exists to catch the failure that comes next in the chain. Check them out of order and you spend a Saturday doing busywork.
Norwich gives the chain more to deal with than most places. The city sits inland in southeastern Connecticut, where winters bring hard freezes, thaws and refreezes that shift a slab and swell a wooden header. A door that’s perfectly adjusted in September can be binding by January. Older homes near the Yantic River and around the Norwichtown green often have garages built into a slope, so the door faces weather from one direction and the top bracket carries load from another. Neither of those conditions shows up on a generic checklist. Both speed up the failure order this guide is built around.
What this checklist does and doesn’t cover
- Covers: tasks a homeowner can safely inspect or do by hand, in sequence, in about 45 minutes.
- Does not cover: spring replacement, cable tension adjustment, track realignment under load, and any work that requires releasing spring force. Those are professional jobs, and this guide says so at every step.
- Assumes: a standard sectional door with either torsion or extension springs, and an opener from LiftMaster, Chamberlain, Genie, Clopay or another common residential brand.
If your door isn’t moving at all right now, skip to the professional section. The order of a checklist only helps a door that still runs. For a door that doesn’t, the faster path is garage door repair with a specialist who can diagnose by system rather than by guesswork.
Step 1: Anchor Hardware and the Top Bracket
Start at the top, where the torsion system meets the house. The bracket that anchors the torsion tube to the header is held by lag screws, and those screws are the most overlooked hardware on a residential door. They’re also the first item on this list because everything below them depends on them holding still.
A New England winter works these fasteners loose the same way it loosens deck boards. Wood expands and contracts with moisture, the door cycles hundreds of times through the season, and a screw that had a full bite in autumn can be a quarter-turn loose by spring. Over time the bracket shifts, the torsion tube goes slightly out of alignment, and the door starts to bind – or worse.
What to check, in order
- Look at the bracket itself. With the door closed, check whether the metal plate sits flush against the wood. A visible gap between bracket and header is a warning sign.
- Look for rust bloom or dark streaks around the screws. Water tracking past a loose fastener leaves a trail. That trail tells you the screw is no longer seating.
- Check the wall on both sides of the bracket for splits, cracks or crumbling plaster. A header that’s failing shows from the drywall side as often as from the door side.
- Do not tighten, adjust or replace the hardware yourself. The top bracket holds the torsion system under load. Loosening a lag screw with the spring wound is a serious injury risk. Flag it and call a technician.
On older Norwich garages, especially those attached to homes with original wooden framing, we see this check skipped for years, and the bracket is usually the first thing we inspect on a maintenance visit. If you notice the door dragging at the top or a click from the header when it opens, stop using the opener and have it looked at. Skipping that check is one of the most common reasons a door fails without warning.
Step 2: The Balance Test
The balance test tells you whether the springs are doing their job. It takes about 30 seconds and you need a helper.
Disconnect the opener first. Almost every residential opener has a manual release cord. Pull it with the door closed, then lift the door by hand to about waist height and let go.
- A balanced door stays where you put it, roughly at half-open, without drifting more than a few inches either way.
- A door that sinks has weak or failing springs. The opener is now lifting most of the weight, which strains the motor and makes the door feel heavy.
- A door that rises on its own has too much spring tension or the springs are the wrong size for the door. A door that rises can’t be safely operated by hand and needs professional adjustment.
Why Norwich homeowners skip this one
Most people skip the balance test because they don’t disconnect the opener first. Testing with the opener still engaged tells you nothing – the motor masks the symptom. The second reason people skip it is the door still opens on the opener, so they assume the springs are fine. That’s not how it works. A spring can be badly weakened and the opener will still force the door up, right until the motor burns out or the gear wears down.
Run this test in October and again in March. That’s the seasonal stress point for a door in this climate. If the door fails the balance test, stop using the opener and have the springs inspected. For a failing spring, our garage door spring repair is the job to schedule.
Step 3: Reading Spring Tension Without Touching the Spring
You can diagnose spring condition visually, without ever laying a hand on the coil. This is the technique most DIY guides leave out. Here’s the method.
A torsion spring sits on the shaft above the door. You never need to touch it to read its condition. Stand back and look at the coil itself.
- Measure the gap between coils. With the door fully closed, the spring’s coils should have a small, even space between them. A healthy spring shows a consistent gap along its whole length.
- Look for uneven gaps. If some coils are touching and others are spread apart, the spring has stretched unevenly. Stretching is the first sign of fatigue.
- Check for paint shift. Springs are painted at the factory. A spring that shows a smooth, unpainted band where the paint has flaked or shifted has been stretching, and that’s a fatigue indicator.
- Look for rust streaks. Rust at the coil edges is a sign of moisture exposure, and on an older spring it speeds up failure.
- Note the spring’s color tip. There’s usually a painted tip on one end. That color identifies the spring’s size and strength. If someone replaces the spring with the wrong color size, the door will never balance correctly. Note the color so you can tell a technician.
None of this requires touching the spring. That’s deliberate. A torsion spring under tension stores an enormous amount of energy, and a coil that lets go while you’re adjusting it is one of the worst injuries in this trade. Extension springs are just as dangerous, especially the ones without safety containment cables installed along the spring. If your extension springs don’t have a cable running through the center, that’s a safety concern to address before anything else.
The three visual signs that mean “call now”
- A visible gap or break in the coil.
- A door that has gone from running smoothly to feeling heavy in one or two cycles.
- Any loud bang from the garage followed by a door that won’t open.
Any of those means the spring has failed or is about to. Stop using the door and call. Our technicians know torsion and extension systems and see these failures so often they can read the condition from a photograph.
Step 4: The Lubrication Sequence – Rollers Before Tracks
Here’s the counterintuitive part. Most homeowners lubricate the tracks because that’s the visible part of the system. They spray the track, then the rollers. That’s backwards, and it actively shortens the life of your hardware.
Tracks are meant to run dry. They’re a guide, not a bearing surface. Lubricating the tracks attracts dust, grit and the fine winter salt that gets tracked into the garage on boots. Once grit gets into the track, it embeds in the rollers and wears them down. Rollers should be lubricated first, followed by hinges, the rollers themselves and the spring (only if the spring manufacturer specifies it). The tracks should be wiped clean, not greased.
Recommended sequence
- Rollers: apply a small amount of low-temperature lithium grease or silicone spray to each roller’s metal bearings, working from bottom to top.
- Hinges: a light spray on each hinge pivot point, then work the door up and down a few times to distribute.
- Springs: light spray on torsion springs only, and only if the door manufacturer specifies it. Some coils are sealed and shouldn’t be lubricated. Extension springs should not be greased – the spring needs to slide.
- Tracks: wipe with a damp cloth, then dry. No grease, no oil, no spray.
- Weather seal: a silicone protectant on the bottom seal once a season helps it survive the freeze.
Norwich winters make the roller-first rule more important than in milder climates. Grit and sand get carried into the garage on footwear through the snowy months. A greased track in January becomes a grinding surface in March. A technician familiar with a LiftMaster or Chamberlain opener will typically check the rollers and hinges along with the opener during a maintenance visit, since the whole system works together.
Do this sequence in October as part of your pre-winter maintenance, and again lightly in spring to clear the winter grit out.
Step 5: Cable Drums You Can Inspect and Tension You Can’t
Cables are the load-transfer layer between the spring and the bottom corners of the door. There are two levels of cable check: the one you can do by eye, and the one that belongs to a professional.
The inspection you can do safely
- Cable drum position: with the door closed, look at the drums at each end of the torsion shaft. The drum should sit square and centred on the shaft. A drum that has started to walk off the shaft is a serious warning.
- Cable condition: inspect the full run of each cable for fraying, kinks, birdcaging or rust. A damaged cable should never be used. Run your eye down the entire length.
- Cable winding: the cable should be wound neatly on the drum with even wraps. A cable that’s crossed over itself is a wind-up failure waiting to happen.
- Bottom bracket hardware: the bottom corners are where the cable attaches. Check the bracket for rust and for visible damage.
The check you should not do yourself
Cable tension adjustment is professional work. Adjusting tension means releasing and re-setting spring force. The tools alone – winding bars, proper technique, the correct sequence – are the difference between a routine job and a hospital visit. There’s no safe DIY version of this task. The same applies to any “disconnect the spring and reset” videos you’ll find online.
What you can do is notice the symptoms that mean tension needs professional attention: a door that lurches on one side, an uneven gap at the bottom when the door is closed, a pop or bang from one of the drums, or visible slack on one side. Any of those is a stop-using-the-door moment. Call for a check.
Step 6: Why October Is the Critical Maintenance Window
Timing matters as much as sequence. In Norwich, October is the critical window, and the reason is ground frost.
The bottom seal on a garage door is the part most exposed to the ground. In warm months, the seal sits on the concrete slab with a small gap under it, and the door slides easily. Once the first hard frost locks the ground, that gap can disappear. The slab heaves slightly, the door’s bottom seal presses down, and the door’s effective operating envelope narrows. Doors that had normal clearance in September wind up scraping the whole winter.
Adjusting the seal in October is a five-minute job. Adjusting it in February means fighting frost heave and often replacing a crushed seal.
The October checklist
- Lubricate the bottom seal with silicone protectant so it stays pliable through the freezing months.
- Check the gap between the seal and the ground. If it’s not even along its length, the door needs alignment before the freeze.
- Run the balance test and note whether the door has changed since spring.
- Inspect the weather strip along the sides and top of the door frame for cracks or gaps.
- Clear the tracks of autumn leaves and grit – they get tracked in when the weather turns.
Miss the window and the first cold snap tells you about it. A door that won’t close because the seal is frozen to the ground is a common early-winter call, and it’s also one you can put off entirely with an October check. If the seal is already crushed or frozen and the door won’t close, that’s an emergency-adjacent problem. Our team handles cases where the door won’t move, and works with you to schedule a visit.
What Normal Wear Looks Like on a Seven-Year-Old Door
Knowing what’s normal is half the battle. On a door in this climate that’s roughly seven years old, certain wear patterns are expected and not a cause for alarm. Others point at a failure that’s weeks or months away.
Normal wear
- Minor surface rust along the bottom brackets and hinges. Cosmetic, not yet structural.
- Slight discoloration on the spring, but no visible gap or paint flake. Springs age gradually.
- Rollers that show polished flat spots but still rotate freely when you spin them by hand.
- A small amount of play in the hinges when you move the door by hand.
- Slight weather strip wear at the bottom of the door frame where the door has pressed against it for years.
Imminent failure
- Visible gaps between spring coils along the whole length, unevenly spaced.
- A door that fails the balance test and feels heavy.
- Rust bloom at the top bracket or dark streaks under the lag screws.
- A real kink, birdcage or fray visible in the cable.
- Rollers that no longer turn freely when spun, or that show flat spots with deformation.
- A clicking or banging sound every time the door opens – the classic sign of a failing roller or hinge.
- The bottom seal that no longer touches the ground evenly, or a visible gap on one side.
Seven years is also the point where opener hardware starts to show its age. A LiftMaster or Genie unit at that age may need new gears, a new battery in the safety sensor, or – on smart-home openers – a firmware reset. Routine opener maintenance belongs on your checklist along with the door itself. If the door rolls smoothly but the opener stutters, the problem is upstream of the track.
Step 7: The Opener, Safety Reverse and Smart Controls
The opener is the last thing to check because everything above it has to be right first. A door that binds will burn out any opener eventually. Once the mechanical side is verified, the opener gets its own short check.
- Test the safety reverse. Place a roll of paper towels or a 2×4 flat under the door’s path, press the wall button, and confirm the door reverses when it hits the object. If it doesn’t reverse, the opener’s safety sensor needs attention before the door is used again.
- Test the photoelectric safety sensors. With the door open, wave your hand between the two sensors at the bottom of the tracks. The door’s path should register as blocked. If the opener ignores this, the sensors are misaligned or dead.
- Test the manual release. Confirm the cord works smoothly. It’s the one piece of hardware you’ll need in a power cut, and it seizes if it’s never used.
- Clear the opener’s remote and smart features. If your opener is a Chamberlain or LiftMaster with smart-home features, confirm it connects to your phone app and the battery in the sensor is fresh.
- Look for a light on the opener that pulses or blinks a code. Every opener brand uses a blink code to report a fault. Note the code, and it’ll help a technician diagnose the problem faster.
Brand matters here. A Genie opener from one era has different sensors and reverse-test procedures than a Chamberlain from another. If symptoms suggest a failing opener, garage door opener repair should be handled by someone familiar with the specific brand and model. Our technicians know the four major opener systems on the market and can usually tell you what’s wrong from the symptom.
Common Mistakes to Avoid
- Lubricating the tracks. It’s the single most common mistake. Tracks should be wiped clean, not greased – grease grabs grit and wears out rollers.
- Testing the balance with the opener still connected. This tells you nothing useful and may strain the motor. Always disconnect the manual release first.
- Touching the torsion spring to “test” it. No amount of DIY instinct justifies touching a tensioned spring. Visual inspection only, ever.
- Bumping up the opener’s force setting. When a door starts to struggle, some homeowners adjust the opener to lift harder. That masks the symptom until the opener fails too. Fix the actual cause.
- Skipping the October check. Norwich winters punish a door that’s missed this window. The October list is short and prevents most early-winter calls.
- Assuming a seven-year-old door is “still new”. Seven years is when spring fatigue, roller wear and cable condition start overlapping. Treat it as a maintenance milestone, not a clean bill of health.
- Replacing the door when only the springs or opener have failed. Most “replace it” decisions come from a failing spring, a worn opener or damaged panels. Those are repairable, and a specialist should tell you before recommending a full replacement.
If a door is genuinely past repair – cracked panels, rusted tracks, a structural failure – new installation makes sense. That’s why Garage Door Repair Norwich handles both ends of the job. A specialist who can diagnose and repair can also tell you honestly when it’s time to replace, so you don’t need a second vendor. Browse Garage Door Repair Norwich for the full picture of what we handle.
When to Call a Professional
Some tasks belong to you. Some belong to a technician. The dividing line is spring and cable work, and any situation where the door won’t move or won’t close.
Call a professional when: you see a broken or visibly stretched spring, the door fails the balance test and feels heavy, there’s cable damage or slack, the top bracket is loose, the door has gone completely off its tracks, the opener repeatedly trips or won’t reverse, or the door isn’t closing properly ahead of the cold season. Any of those is a safety issue, not just an inconvenience – a door stuck open or a panel that could drop is a real risk.
Garage Door Repair Norwich offers free estimates in Norwich – call (877) 517-6532. Our technicians have up to 8 years of experience and can walk through the checklist with you, spot the failures on the schedule above, and tell you what’s worth repairing versus what’s worth replacing.
Frequently Asked Questions
Twice a year: a full check in October before the ground frost sets in, and a lighter check in spring to clear winter grit. A door that cycles heavily needs the balance test run each time, and a door that’s past seven years old needs a technician check once a year on top of your own routine maintenance. Norwich winters shorten the interval only for older doors – a newer door genuinely runs on the autumn and spring schedule.
The top bracket and its lag screws. They’re the most frequently skipped item on any checklist and the most likely to be the root cause when a door starts binding. Check them first, visually only, before anything else. If you notice a gap between the bracket and the header or dark streaks under the screws, call a professional before running the door.
Only if the door manufacturer specifies it, and only with a light spray on a torsion spring, never a greased or physically adjusted one. Extension springs should not be greased at all. Anything beyond a light spray – winding, resetting, adjusting – is dangerous, and we recommend never attempting it. A torsion spring can cause serious injury.
Because tracks are a guide, not a bearing. Greasing them attracts dust and grit, which embeds in the rollers and wears them out. Wipe the tracks clean, dry them, and put the lubricant where it belongs: on the rollers, hinges and spring. It’s one of the most common maintenance mistakes, and it’s easy to avoid once you know the sequence.
It’s real for a reason specific to this climate. Ground frost locks the bottom seal in place and narrows the clearance under the door. A door adjusted in October runs clean through the winter; a door adjusted in February fights the frost. The October list is short – lubricate the seal, check the seal-to-ground gap, inspect the weather strip, clear the tracks – and it prevents most of the expensive winter calls.
If the door’s panels, tracks or opening hardware are structurally sound, it’s usually a repair. Springs, cables, rollers, hinges and openers fail first; the panels themselves rarely need replacing unless they’re rusted or physically damaged. A technician can tell you within a visit which category you’re in and won’t push a new door if a spring and a roller set will fix it.
The Bottom Line
Garage door maintenance in Norwich works best as a sequence, not a checklist of equal parts. Check the top bracket and lag screws first, run the balance test next, read the spring visually, lubricate rollers before you touch the tracks, inspect the cable drums by eye and leave tension to a pro. Do the full round in October before frost narrows the door’s clearance, and do a lighter pass in spring to clear the grit out. That’s the order that keeps each task from being wasted work, and it’s the order that catches a failed spring or a loose bracket before it becomes a bigger repair. Own the visual checks; hand off the spring and cable work.
Call Garage Door Repair Norwich at (877) 517-6532 for a free estimate. We’ll walk the checklist with you, spot what’s actually failing, and tell you what’s worth repairing versus replacing. If you’d rather start with a straight answer about what’s wrong, that’s what we’re here for.
Written by the team at Garage Door Repair Norwich.
See the difference
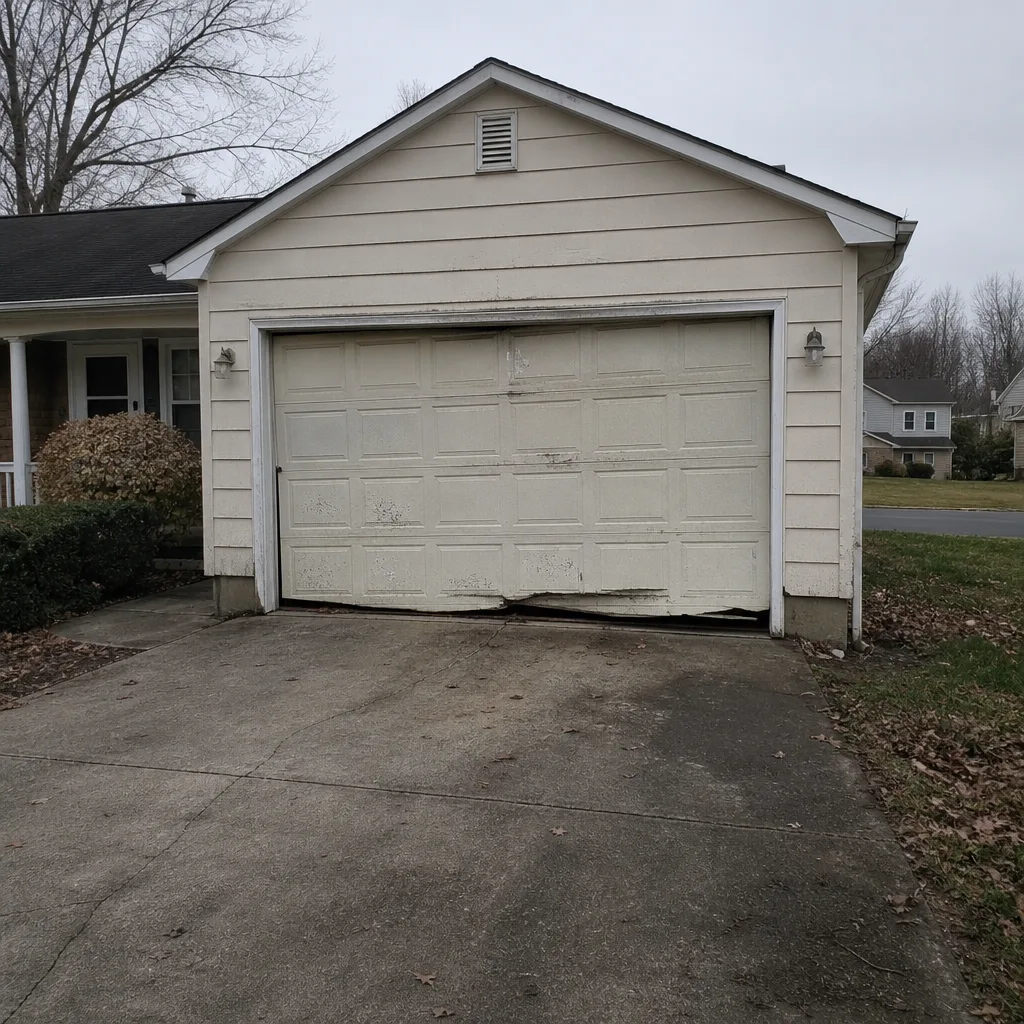 Before
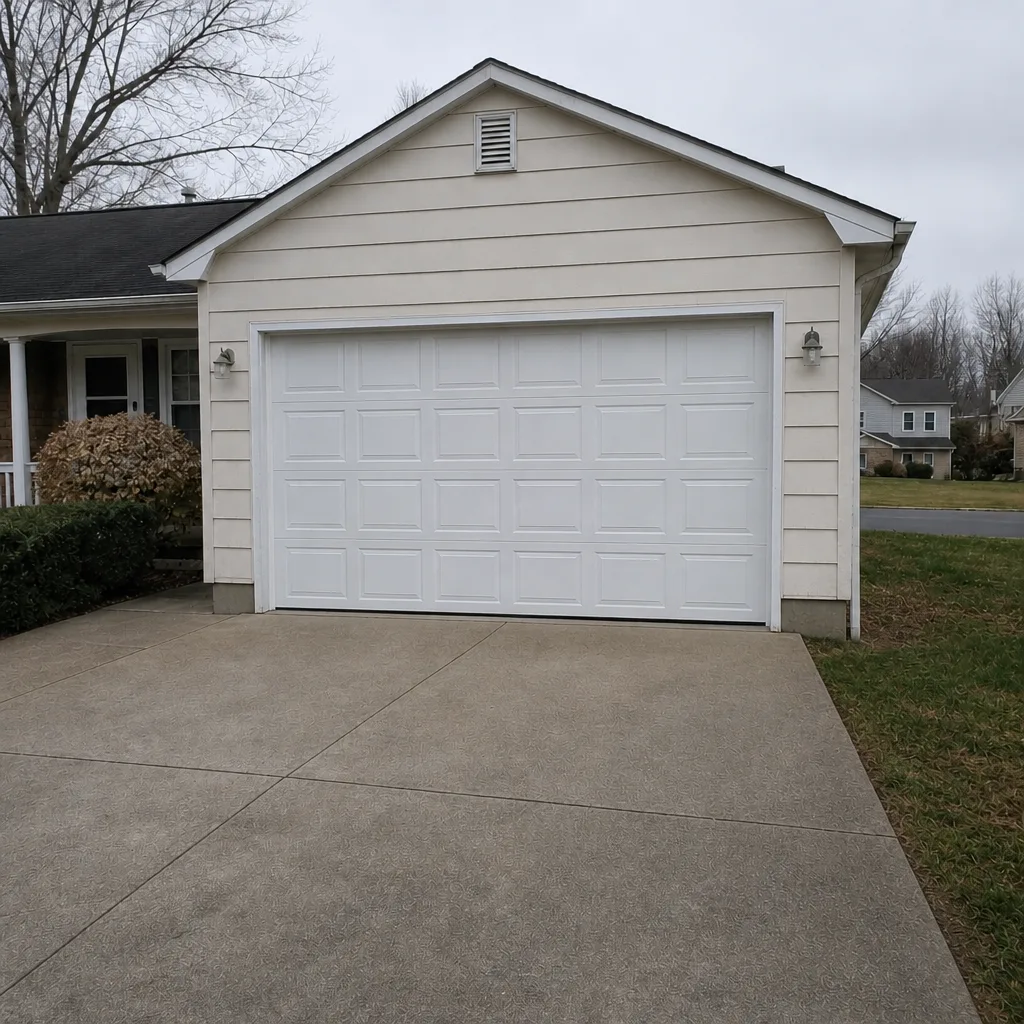 After
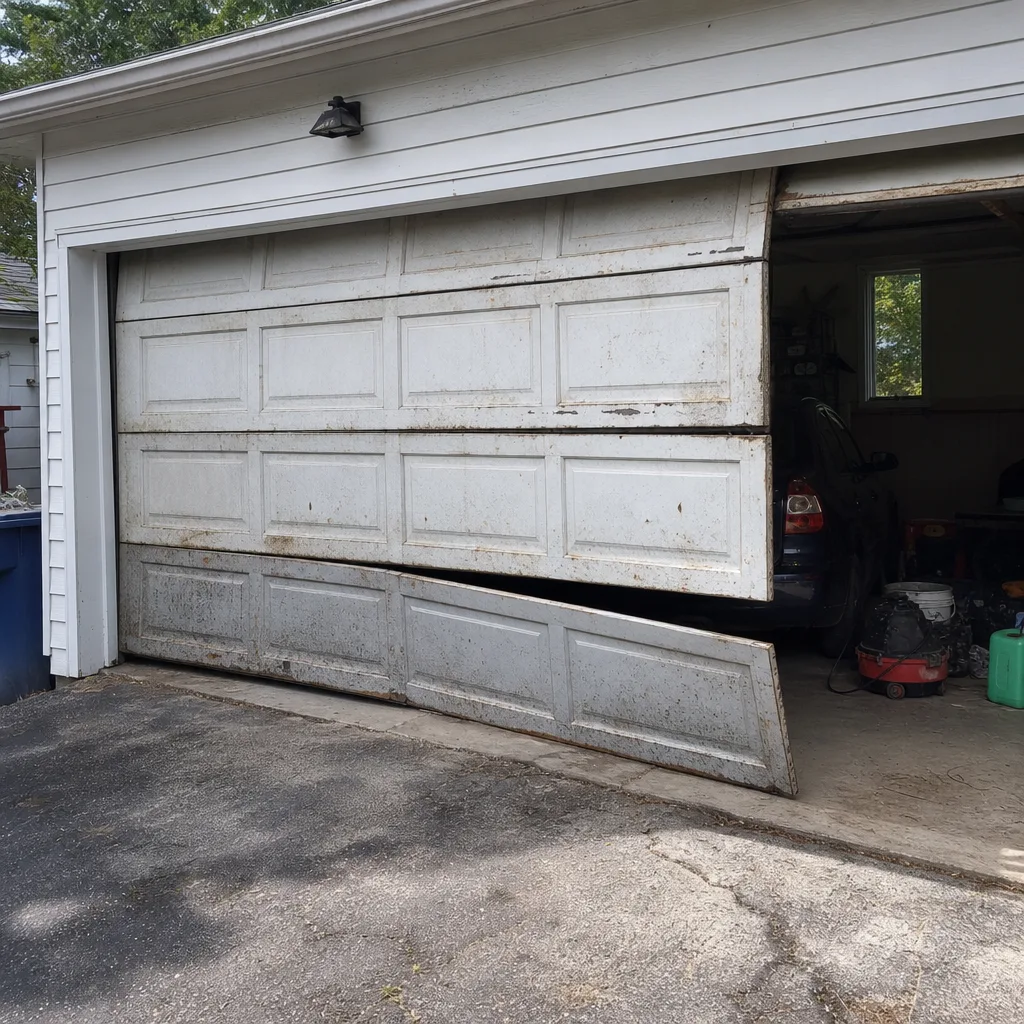 Before
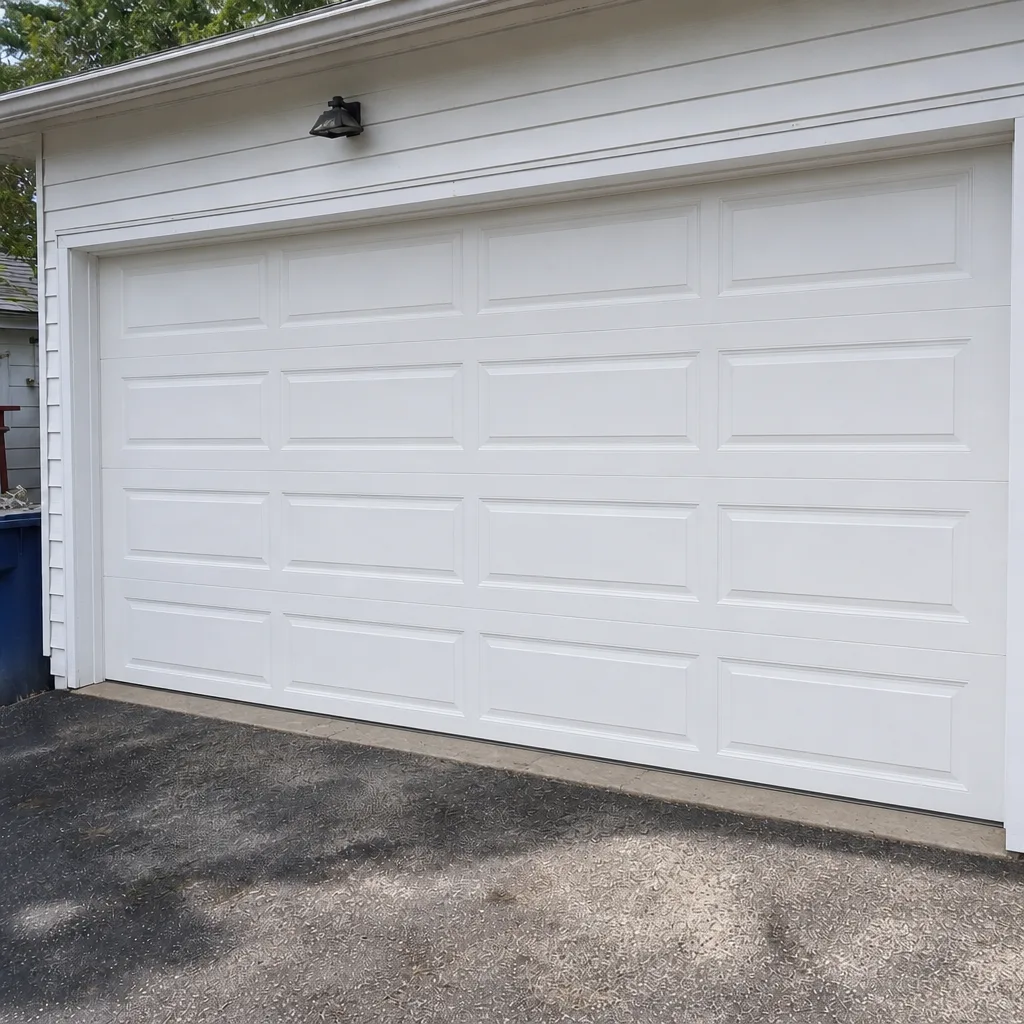 After
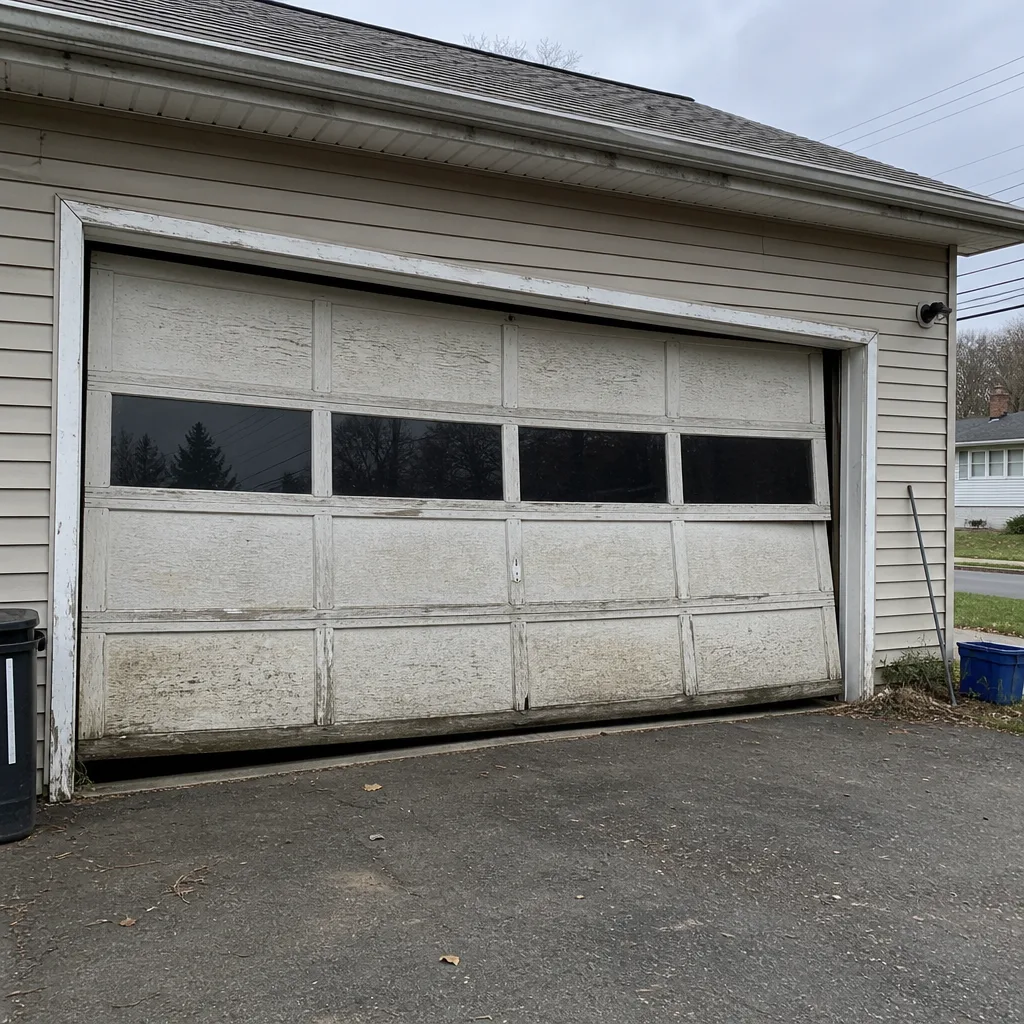 Before
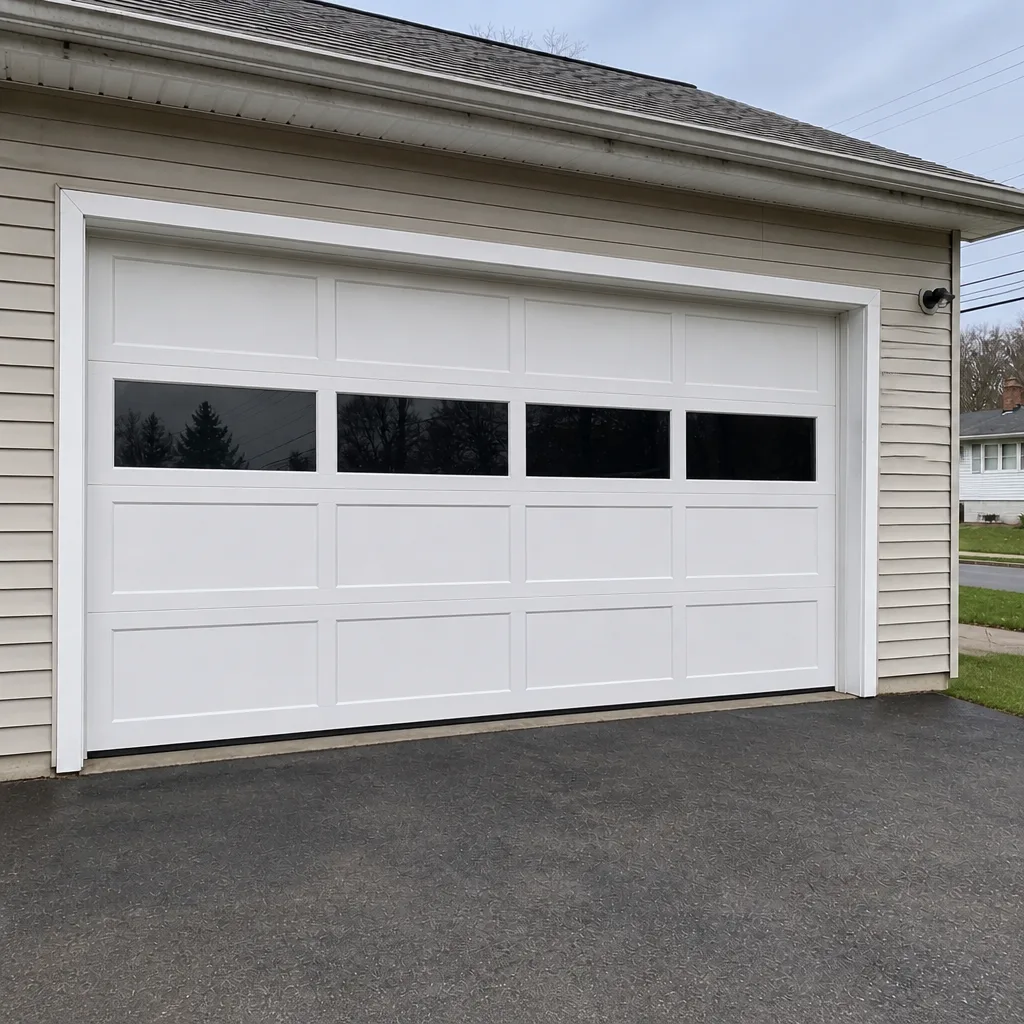 After